Why Is My Aircond Leaking Water? Causes and Fixes
Water dripping from your aircond? Learn the common causes of aircond water leaks and how to fix them. Expert guide from AC Service Pro.
Why Is My Aircond Leaking Water? Causes and Fixes
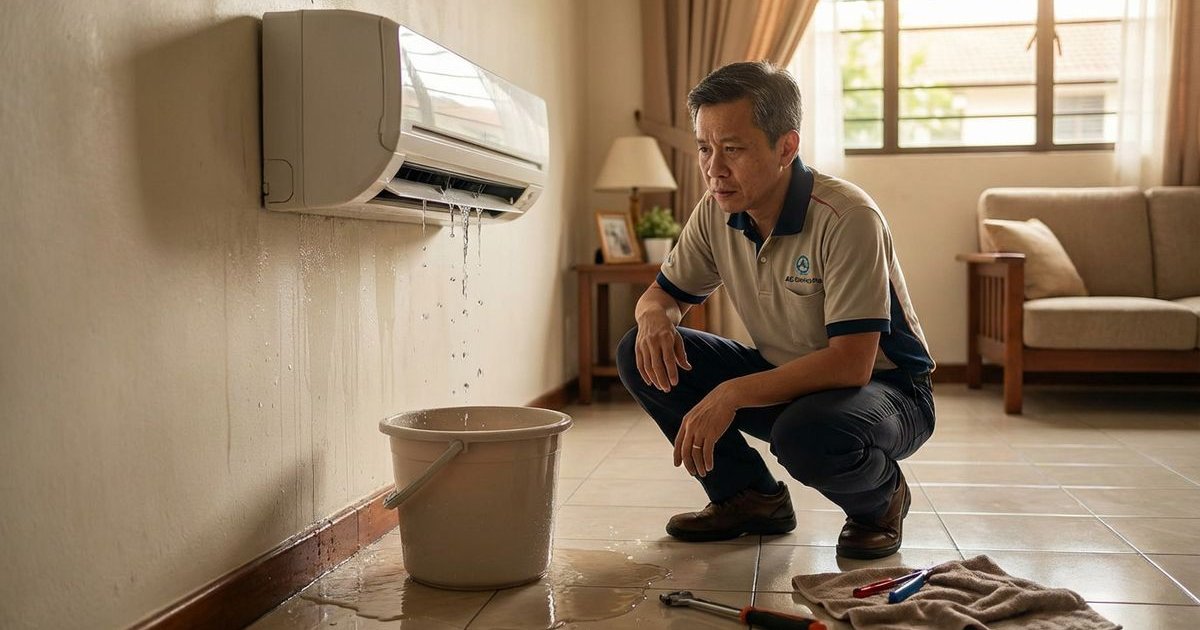
Waking up to a puddle of water under your aircond is a frustrating way to start the day. We see this issue constantly in Kepong and Kuala Lumpur, where units run 24/7 to combat the tropical heat.
You might be wondering if your unit is broken beyond repair.
From our experience, water leaks are rarely a sign of a dead aircond. They are usually a cry for help caused by a specific maintenance gap.
We are going to break down exactly why this happens, the “jelly” phenomenon most people ignore, and how to fix it before it damages your walls or flooring.
Understanding Why Airconds Produce Water
It helps to first understand that water production is a sign your unit is actually working. As your aircond pulls heat from your room, moisture from the air condenses on the cold evaporator coils.
Think of it like a cold glass of Teh O Ais “sweating” on a hot afternoon.
In a high-humidity environment like Kuala Lumpur (often hovering above 80% humidity), a standard 1.0HP unit can pull liters of water out of the air every single day. This condensate is supposed to flow seamlessly into a drain pan and out through a dedicated pipe.
The trouble starts when that massive volume of water has nowhere to go.
5 Common Causes of Aircond Water Leaks
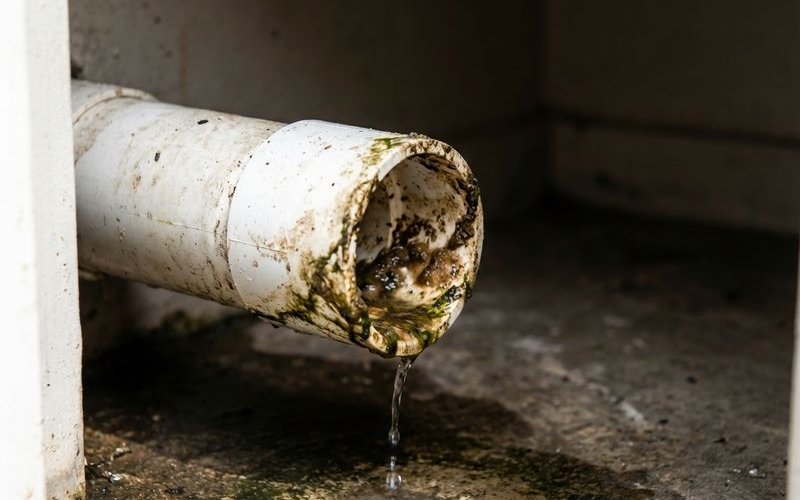
1. Clogged Drain Line (The “Jelly” Problem)
This is the culprit in nearly 90% of the service calls we attend. The blockage is rarely just dirt; it is usually a thick, mucus-like substance known as bio-slime or “aircond jelly.”
Dust from your room mixes with condensate water to create a perfect breeding ground for bacteria (specifically Zooglea).
We find that this jelly grows rapidly in Malaysia’s humid climate, forming a solid plug inside the drain pipe. Once blocked, the water backs up and overflows the drain pan, spilling down your wall.
The Fix: A standard vacuum often isn’t enough to dislodge deep slime. Our team uses a high-pressure flush or chemical solution to dissolve the organic buildup completely.
2. Dirty Evaporator Coils
Dust and debris do more than just choke your air quality. When evaporator coils are caked with dirt, the condensation cannot drip down into the pan as designed.
The water droplets instead cling to the dirt and travel off-course.
You will often see this water dripping from the front of the unit rather than the back. This issue is especially common in older terrace houses in Kepong where dust levels can be higher.
The Fix: A chemical wash is required here. Simple water cleaning won’t remove the sticky layer of grime on the coils.
3. Damaged or Tilted Drain Pan
The drain pan sits underneath your coils to catch every drop of water. Over time, especially in units older than 5-7 years, the plastic can become brittle and crack.
We also see cases where the pan has shifted out of alignment.
If the pan isn’t angled correctly towards the drain hole, water pools in the corner until it overflows. This is common if the unit was bumped during a previous painting or renovation job.
The Fix: If it’s a tilt issue, re-leveling the unit solves it. If the pan is cracked, we must replace the component entirely.
4. Improper Installation Gradient
Gravity is the only thing moving water out of your aircond. If your installer didn’t angle the drain pipe correctly, water will stagnate.
A proper installation requires a slight downward slope—typically at least a 1% gradient (about 1/8 inch drop per foot).
We frequently find this error in budget installations where the pipe runs horizontally for too long without a drop. The water sits in the pipe, eventually flowing backward when the volume increases.
The Fix: Re-piping the drain line to ensure a continuous downward slope.
5. Low Refrigerant (Gas)
It sounds counterintuitive, but low gas can cause a water leak. When refrigerant levels (R32 or R410A) drop, the evaporator coil gets too cold and freezes over.
You might see actual ice forming on the fins.
When the unit cycles off, that ice melts all at once. The drain pan is designed for a steady drip, not a sudden flood, so it overflows immediately.
The Fix: We must locate the gas leak, repair it, and then top up the refrigerant to the correct PSI.
Temporary Fixes While Waiting for Service
If water is dripping right now, you need to stop the damage before calling us.
Follow these immediate steps:
- Turn off the unit immediately: Continued operation will only produce more water and risk electrical damage to the PCB board.
- Catch the water: Place a bucket or thick towels under the leak to protect your flooring, especially if you have parquet or laminate.
- The “Shop Vac” Trick: If you have a wet/dry vacuum and can access the outdoor drain hose (common in landed properties), try sucking the end of the pipe for 30 seconds. This can sometimes dislodge the jelly clog temporarily.
- Check the filter: A severely clogged filter can contribute to freezing. Clean it if it looks blocked.
Warning: Do not try to disassemble the unit yourself. Water near electrical components is a serious safety hazard.
Prevention: The Maintenance Schedule You Need
Regular maintenance is the only way to prevent the “jelly” from returning.
We recommend the following schedule for Malaysian households running AC daily:
| Service Type | Frequency | Estimated Price (KL/Selangor) | What It Does |
|---|---|---|---|
| Filter Cleaning | Every 2-4 Weeks | Free (DIY) | Maintains airflow and prevents freezing. |
| General Servicing | Every 3-4 Months | RM 80 - RM 120 | Clears basic dust and checks gas levels. |
| Chemical Wash | Every 6-12 Months | RM 150 - RM 200 | Dissolves bio-slime and deep cleans coils. |
| Overhaul | Every 2-3 Years | RM 250 - RM 350+ | Full dismantle to clean back-end parts. |
Chemical washing is particularly important for the drain system.
It involves using a specific chemical solution that flushes out the bacterial slime that water alone cannot remove. This also typically includes a gas check to ensure you aren’t running low on R32 or R410A refrigerant.
When to Call a Professional
While you can clean filters yourself, most leaks require professional aircond repair.
You should reach out to a professional if:
- The leak continues even after you’ve cleaned the filters.
- You notice ice forming on the copper pipes or coils.
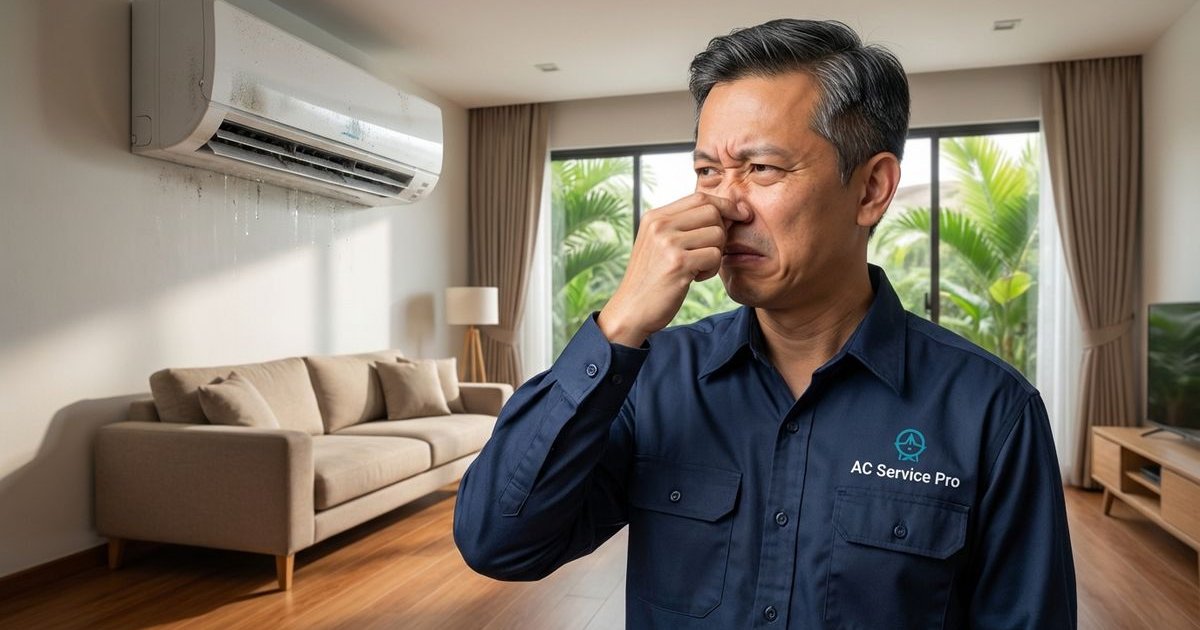
- There is a musty, moldy smell accompanying the dampness.
- You see water dripping near the electrical wiring or LED display.
- Your unit is blinking an error light (often a sign of pump failure in cassette units).
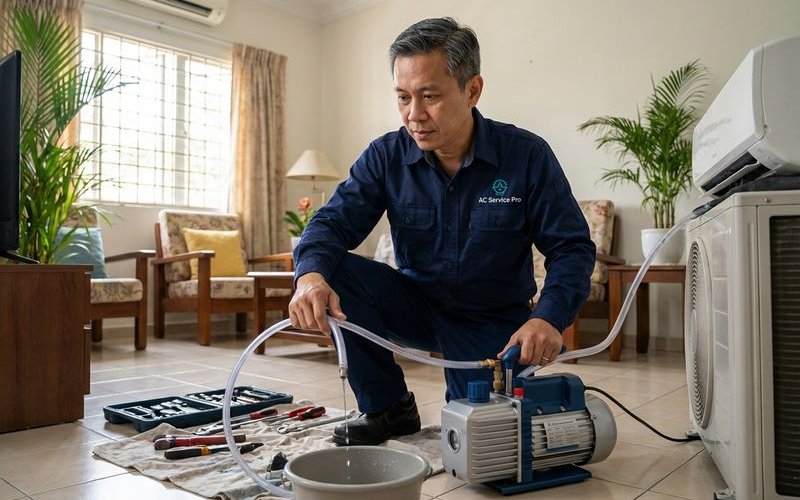
Our Water Leak Repair Process
We approach leaks with a systematic diagnostic process to ensure the problem doesn’t return next week.
Here is what you can expect when our team arrives:
- Diagnose: We inspect the coils, drain pan, and gas pressure to find the root cause.
- High-Pressure Clear: We use a specialized flushing tool to blast the bio-slime out of your drain pipe.
- Structural Check: We verify the gradient of your piping and the integrity of the drain pan.
- Test Run: We pour water into the pan to visually confirm it flows out smoothly before we leave.
- Prevention Advice: We will let you know if a chemical wash is needed to prevent immediate regrowth of algae.
Most water leak repairs take less than 45 minutes to complete. Contact us to book a slot and get your room dry and cool again.
Need Aircond Service?
20+ years experience. 10,000+ customers served. Free gas top-up with chemical wash.
WhatsApp Us Now